
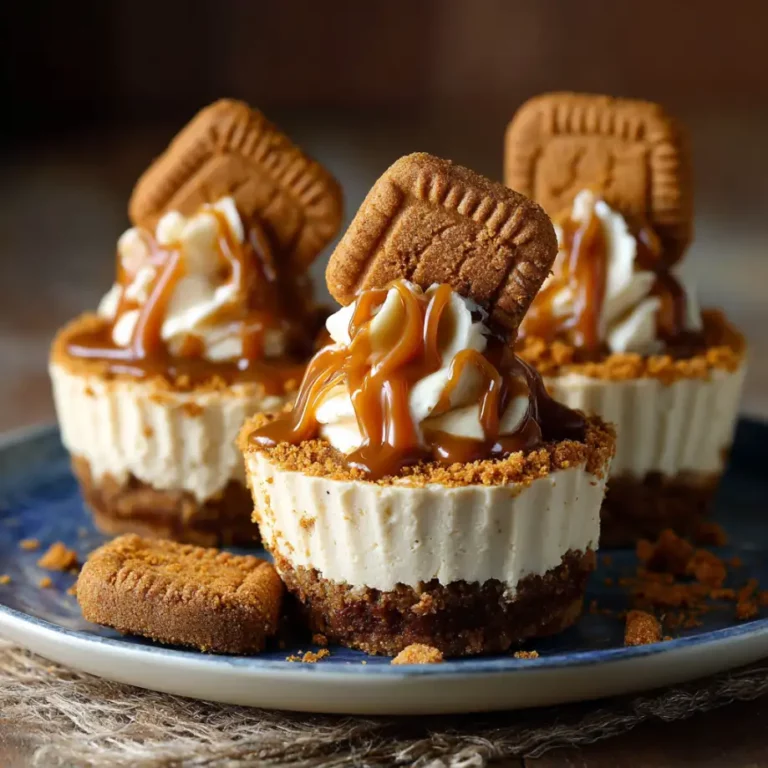
Introduction
If you’re searching for a dessert that feels luxurious but is incredibly easy to make, these Biscoff Cheesecake Cups are exactly what you need. Rich, creamy, and layered with the iconic caramelized spice flavor of Biscoff, these individual dessert cups are perfect for parties, gatherings, or a simple sweet treat at home.
What makes these no bake Biscoff cheesecake cups so special is their balance of textures and flavors. You get a buttery cookie base, a smooth and creamy cheesecake layer, and a glossy Biscoff topping that ties everything together. Each spoonful delivers a perfect combination of crunch, creaminess, and warm spiced sweetness.
Advertisements
Another reason these easy Biscoff dessert cups stand out is their convenience. There’s no oven required, no complicated techniques, and minimal cleanup. Everything comes together quickly, making this recipe ideal for beginners or anyone short on time.
These cheesecake cups are also visually impressive. Served in individual glasses or jars, they look elegant and are perfect for entertaining guests. You can prepare them ahead of time and keep them chilled until ready to serve, making them a stress-free dessert option.
Advertisements
If you love Biscoff flavor and creamy desserts, these Biscoff Cheesecake Cups are a must-try.
Why You’ll Love This Recipe
There are many reasons why these Biscoff Cheesecake Cups will become your go-to dessert.
Advertisements
First, they are incredibly easy to make. This no bake Biscoff cheesecake cups recipe requires no baking, making it quick and simple.
Second, the flavor is rich and unique. Biscoff adds a caramelized, slightly spiced taste that makes these cups stand out.
Another reason to love these easy Biscoff dessert cups is their texture. The crunchy base combined with the smooth cheesecake filling creates a perfect balance.
They are also perfect for portion control. Individual cups make serving easy and neat.
Finally, they are great for make-ahead preparation. You can prepare them in advance and chill until needed.
About the Ingredients
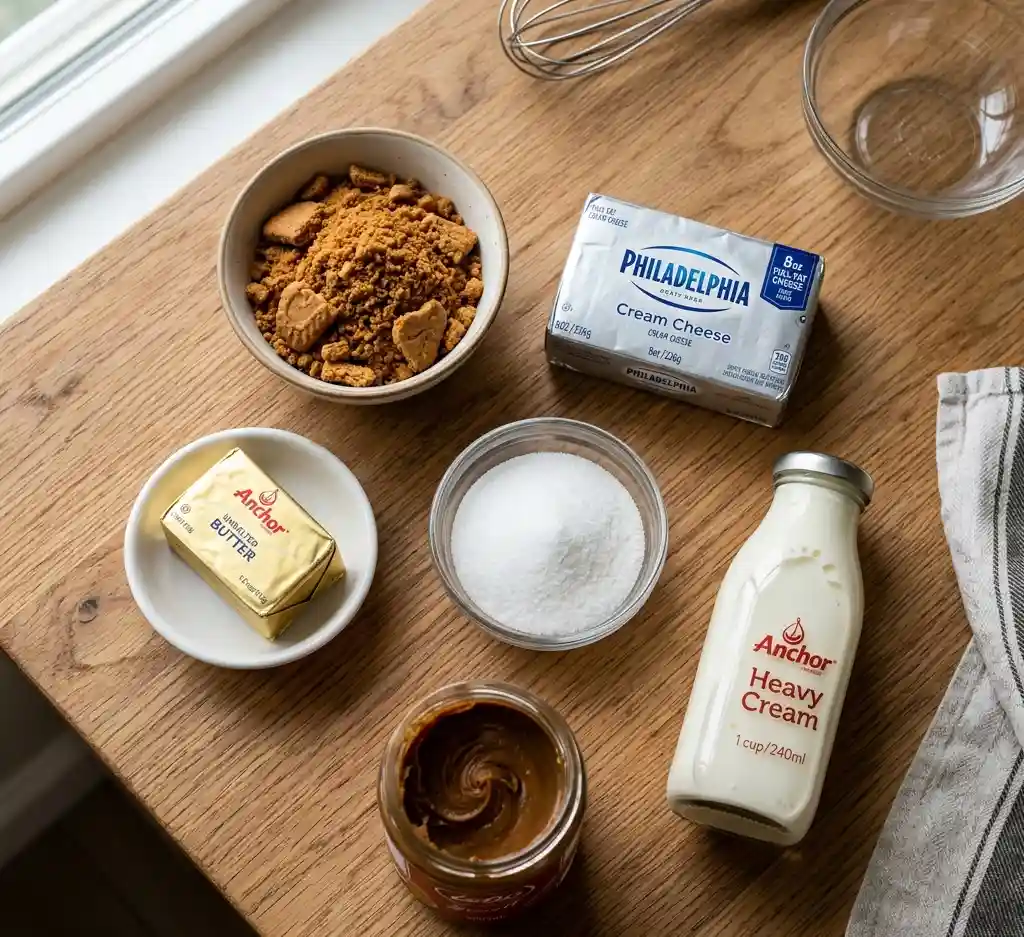
Biscoff Cookies
Biscoff cookies form the base of the dessert. They provide a crunchy texture and signature caramelized flavor.
Butter
Butter helps bind the crushed cookies together to create a firm crust.
Cream Cheese
Cream cheese is the main component of the cheesecake layer. It should be softened for a smooth texture.
Biscoff Spread
Biscoff spread adds rich flavor to both the filling and topping.
Sugar
Sugar enhances sweetness and balances the tanginess of the cream cheese.
Heavy Cream
Heavy cream adds lightness and helps create a fluffy cheesecake texture.
Vanilla Extract
Vanilla enhances the overall flavor and adds warmth.
Tips and Tricks
To make the best Biscoff Cheesecake Cups, make sure the cream cheese is fully softened before mixing. This prevents lumps and ensures a smooth filling.
Chill the cups for at least 2 hours to allow the layers to set properly.
Use clear cups or jars for a beautiful layered presentation.
Pro Tips
Whip the cream separately before folding it into the cheesecake mixture for a lighter texture.
Slightly warm the Biscoff spread before pouring it on top for a smooth finish.
Add extra crushed cookies on top for a decorative touch.
Step by Step Instructions
- Crush Biscoff cookies into fine crumbs using a food processor or by hand.
- Melt butter and mix it with the cookie crumbs until combined.
- Spoon the mixture into the bottom of serving cups and press down firmly.
- In a bowl, beat cream cheese until smooth.
- Add sugar and vanilla extract and mix well.
- Stir in Biscoff spread until fully incorporated.
- In a separate bowl, whip heavy cream until soft peaks form.
- Gently fold the whipped cream into the cheesecake mixture.
- Spoon or pipe the cheesecake filling over the cookie base.
- Smooth the top evenly.
- Warm Biscoff spread slightly and drizzle over the top.
- Chill the cups in the refrigerator for at least 2 hours.
- Garnish with crushed cookies before serving.
Variations
These Biscoff Cheesecake Cups can be customized in many ways.
Add chocolate chips or drizzle for extra richness.
Use a different cookie base like graham crackers.
Add fresh fruit like strawberries for contrast.
Make mini versions for bite-sized desserts.
Use mascarpone instead of cream cheese for a different texture.
How to Store
Store the cheesecake cups in the refrigerator for up to 3 days.
Keep them covered to prevent drying out.
Frequently Asked Questions
Can I freeze cheesecake cups
Yes, but texture may change slightly
Do I need to bake
No, this is a no-bake recipe
Can I use whipped topping
Yes, instead of heavy cream
How long should they chill
At least 2 hours
Can I make them ahead
Yes, perfect for that
What cups should I use
Glass or plastic both work
Is Biscoff very sweet
It is sweet with a spiced flavor
Biscoff Cheesecake Cups
Equipment
- mixing bowls
- Serving cups
Ingredients
Ingredients
- 1 1/2 cups Biscoff cookies crushed
- 4 tbsp butter melted
- 1 cup cream cheese softened
- 1/2 cup Biscoff spread
- 1/4 cup sugar
- 1 cup heavy cream
- 1 tsp vanilla extract
Instructions
- Crush Biscoff cookies into fine crumbs.
- Mix crumbs with melted butter.
- Press mixture into the bottom of serving cups.
- Beat cream cheese until smooth.
- Add sugar, vanilla, and Biscoff spread and mix well.
- Whip heavy cream until soft peaks form.
- Fold whipped cream into cheesecake mixture.
- Spoon filling over the crust.
- Drizzle with warmed Biscoff spread.
- Chill for at least 2 hours before serving.
Notes
Advertisements